Craft Your Own Homemade Ice Packs for Ultimate Convenience
Last Updated on June 26, 2025 by Kira Andrus
Homemade ice packs are a versatile and budget-friendly solution for reducing inflammation, soothing minor injuries, and keeping lunchboxes or coolers cool throughout the days adventures. Today, we’ll guide you through the process of making your own ice packs using ClearBags Liquid/Freezer Bags. Available in a variety of sizes for a variety of needs, these bags provide excellent durability for any occasion.
Materials:
- Zip bags
- Water
- Rubbing alcohol (optional)
- Food coloring (optional)
- Freezer
Instructions:
Step 1: Select the Right Freezer Bag Choosing the right zipper bag is crucial for creating effective ice packs that will ensure they don’t leak when frozen. We recommend ClearBags Liquid/Freezer Bags which were specifically designed to hold liquids and be placed into the freezer. Made from 4 mil thick materials, these pouches come with a zipper on the top to provide an airtight seal, meaning they’re ideal for making sure your ice pack won’t leak or spill.
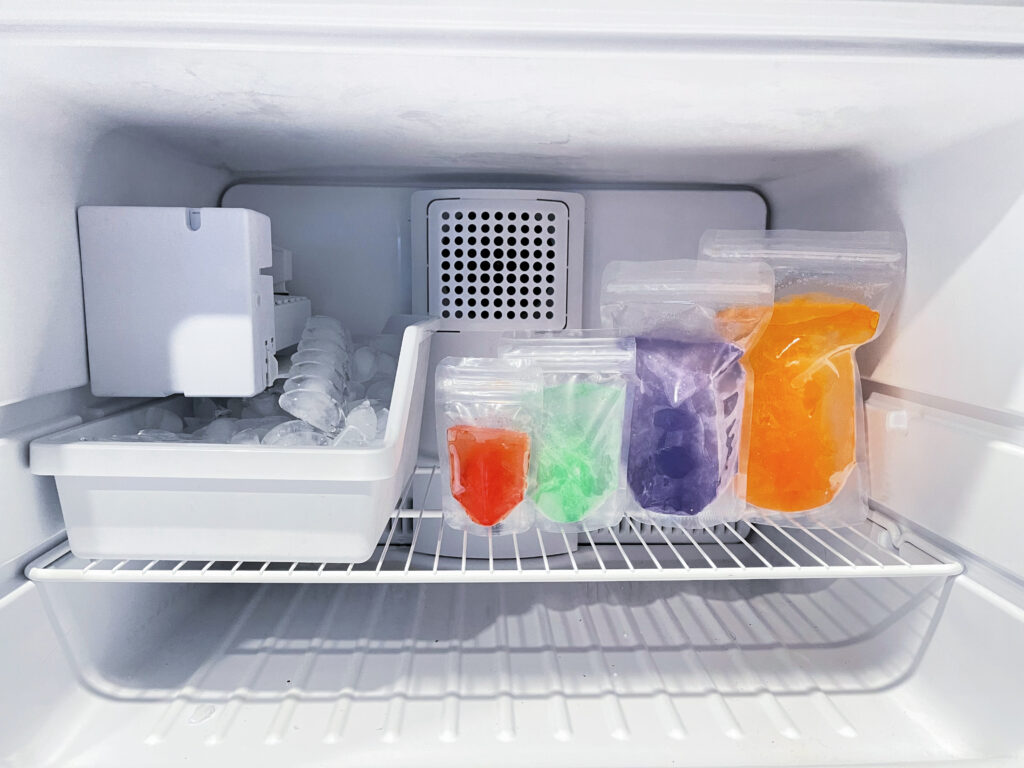
Step 2: Customize Your Ice Pack One of the benefits of making your own ice packs is the ability to customize them. You can add a few drops of food coloring for a pop of color or a splash of rubbing alcohol to create a slushier consistency. While these customizations are optional, plan water works perfectly well.
Step 3: Fill the Zipper Bag Carefully pour water into the liquid/freezer pouches, leaving some space at the top to allow for expansion as the water freezes. Make sure to remove any excess air from the bag before sealing it.
Step 4: Seal the Bag Securely This is where the liquid/freezer pouches truly shine! Their secure and airtight seals ensure that the water remains contained and doesn’t leak out as it freezes. Double-check the seal to make sure it’s tightly closed.
Step 5: Freeze Your Ice Pack Place the filled pouch in your freezer. Make sure it’s positioned in a way that allows it to freeze evenly (For example, laying it on its side. You can also lay it flat on a baking sheet for added stability). Depending on the size of the ice pack, it may take a few hours or overnight to freeze completely.
Step 6: Enjoy Your Homemade Ice Pack Once your homemade ice pack is fully frozen, it’s ready to use. Wrap it in a thin cloth or paper towel to prevent direct contact with the skin when using on minor injuries, and apply it to the affected area for relief from pain or swelling.
These ice packs can also be used in lunchboxes to keep foods cold or in coolers for a mess-free way to keep drinks cool.
With a variety of sizes, you can send homemade ice packs on any adventure!
Step 7: Reuse and Refreeze One of the great advantages of using liquid/freezer pouches for homemade ice packs is their durability and reusability. After use, simply place the ice pack back in the freezer to refreeze. You can use it again and again for various purposes.
Homemade ice packs are a practical and cost-effective addition to your first aid kit and outdoor adventures. By using zipper bags, you not only ensure the durability and security of your ice packs but also have the flexibility to customize and reuse them as needed. So, the next time you need to soothe a minor injury or keep your beverages cool, reach for your DIY ice packs crafted with convenience and care.